Ergo Ergonomics

Beekeepers are a sturdy bunch. Not surprisingly, it seems dealing with tens of thousands of stinging insects attracts a hardy bunch of folks! Even still, we all have our limitations. Whether we are battling a physical constraint or just working on improving our physical ability and stamina, a few tips and tricks can go a long way. In this post, I will provide you some of my best practices for lessening the load we beekeepers have to carry.
BUCK TRADITION.
I am constantly baffled as to why beekeepers choose to use two different size boxes in their apiary. The ‘standard’ is generally 1-2 deeps for your brood (eggs and young bees), and then moving to medium boxes for honey supers. I’ve always found this to be silly, particularly for a hobbyist, but I suppose one could present a few arguments on why one should start with a deep:
- Using 1-2 deeps cuts down on the number of total boxes required.
- This is true, but given that a medium frame of honey weighs 4 pounds and a deep frame weighs 6-7 pounds,I’lll go through the effort of moving an extra box. Of course, there may be a slight additional cost involved, but I’ll take a healthy back over saving a few bucks.
- You will never have to move the brood box, and it will never be full of honey.
- As much as we like to argue what will and will not happen in a hive, the bees will decide to do what they will do. Plus, if you flip brood boxes when you come out of winter or ever plan to clean or replace your bottom board, you will need to move that bottom box.
Now a few, more compelling arguments (in my opinion), in favor of moving to medium boxes:
- The most weight you will be required to move at one time is 35-40 pounds.
- A deep full of honey will weigh up to 70 pounds.
- Shoulder strain is real.
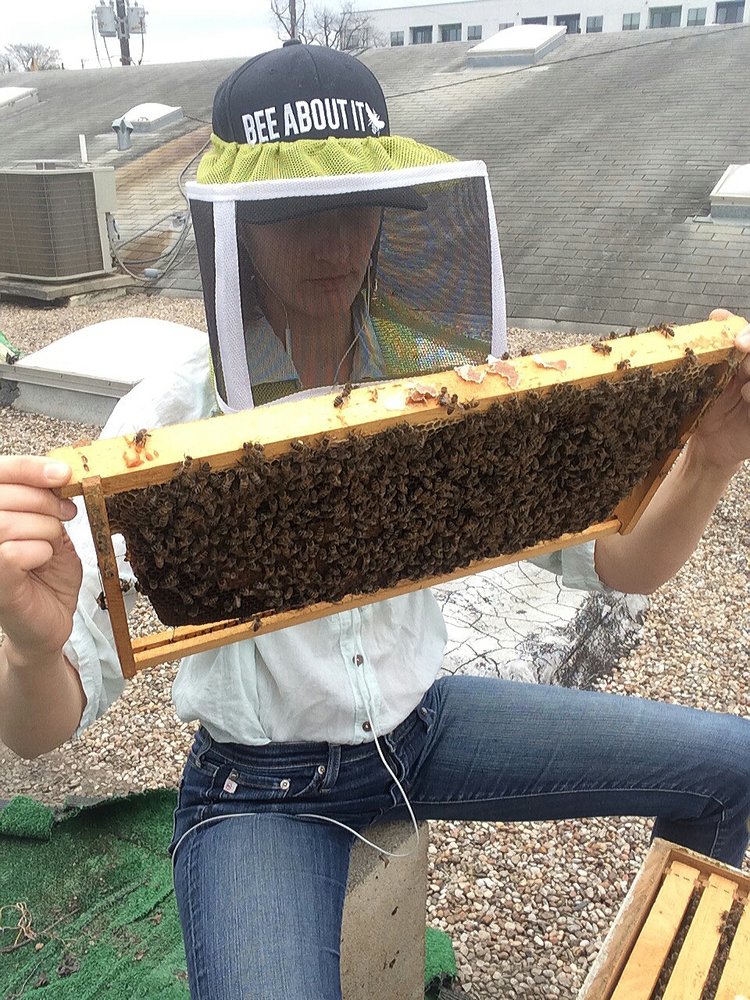
- Don’t underestimate the strain on your shoulders by simply holding those heavier deep frames. I use all mediums, and when I inspect my clients’ deep frames, the weight is significantly more taxing on my upper body.
- Imagine a world of complete interchangeability between all your hives!
- No more realizing you brought deep frames when you actually needed mediums, and vice versa.
Plus, if you elect to do 8 frame boxes, then you are again decreasing the maximum weight of each box.
Of course, another obvious solution is to just use a top bar, and then you eliminate all stooping and bending in general. However, although I started on top bars, I much prefer my foundation-less Langstroth frames and I don’t like telling someone their only option is a top bar! For more pros and cons between hive options, read this post.
TAKE A SEAT.
I personally don’t find the lifting involved in beekeeping particularly taxing outside of the harvest season, which is a very short period of the year. However, I do find stooping over hives and a day full of bending at the waist to look inside Langstroth hives really does a number on my back the next day. If you find this equally as stressful on your lumbar spine, consider bringing a small stool. Although I don’t usually advocate for more sitting (generally we do far too much of that in our society!), this will allow you to inspect your bottom-most boxes more easily while acting as a back saver.

RAISE ‘EM UP.
I’d also recommend you elevate your hives at least 6 inches off the ground. Not only does this help with ventilation and deter certain predators such as possums and skunks, it puts your hive a little bit closer to your center of gravity. However, refrain from elevating your hives too high. Depending on how tall you are, you want to keep in mind that you will be adding supers during a nectar flow and you don’t want to get in a position where you are having to lift 40 pound supers over your head. Set up your hive with as many boxes as you would expect to have during a strong flow, and play around with the height a bit to make sure it is manageable.
GET SOME WHEELS.
I invested in a sturdy utility cart this year, and I am really excited at what it will do for me come harvesting time. Most of my hives are urban, so I don’t have the benefit of driving the truck right up to the hive and my boxes have to be carried 20-50 yards. Look for one with large heavy duty wheels if you expect to have to pull it over rough terrain. Also look for one whose sides can drop down to act as a flat bed cart if the need arises.
PROPS ARE YOUR FRIEND.
Some of my beekeepers have a hard time removing the top super or brood box in a Langstroth hive, not just because of weight, but because once you use your tool to break the propolis seal on one side of the box, it can take some hand trickery to keep that side of the box elevated while you switch your hand grip to lift. If you find this challenging, use a wedge of some sort (an entrance reducer works perfectly!) in between the two boxes. This will keep the seal broken and the side of the box elevated while you readjust your grip. If you like to break the seal on both sides of the box before you lift, then simply use the same technique on the opposite side with another entrance reducer.

Also, I find that the last 12 inches of setting those supers on the ground is the most opportune time for an injury. Rather than setting them on the ground, set it on the hive next door if you have one. Keep in mind you want to make sure the cover is on the hive first. You’d never want to set a hive body on another open hive. If you don’t have a hive nearby that makes this practical, install something that can act as a sort of small stand or table next to the hive that allows you to set the hive bodies between knee and waist height.
WORK SMARTER, NOT HARDER.
Using 8 frame mediums and still having an issue lifting? Bring an empty hive body into the apiary, and remove a few of the frames into the empty box before lifting the hive body. Just moving 2 frames will take up to 8 pounds off the total weight. Also, remember not every inspection requires you inspect every frame. In fact, I very rarely look at every frame in a hive, unless I am requeening and she’s playing hard to get. If you have 6 hives and pull only 4 frames from each hive instead of 10 or more per hive, you are saving your shoulders a lot of extra work.
REMEMBER WHAT YOUR MOMMA TOLD YOU.
The basics of course apply here. Lift with your legs, not your back. What this means, in case you never paid attention in gym glass, is you don’t want to bend at the waist but rather you want to push your knees out and squat down before lifting. This takes the strain out of your back and puts in on your glutes and legs, where it belongs. Also be sure to engage your abdominal muscles when you lift. Staying active outside of the bee yard and lifting weights will go a long way to preserving your ability to keep bees well into your golden years. Olympic lifting is a favorite past time of mine, and it makes my daily work easier and helps ensure an injury-free work zone.
TOOL AROUND.
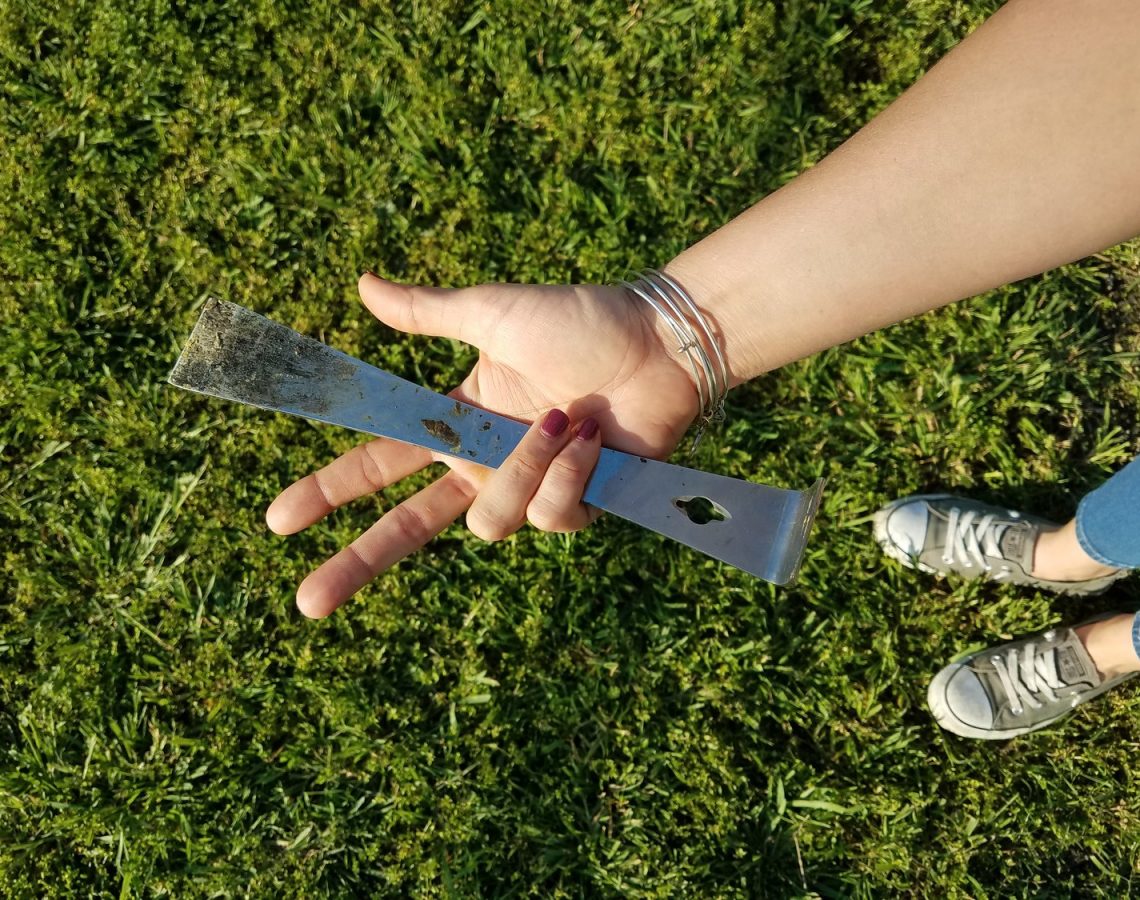
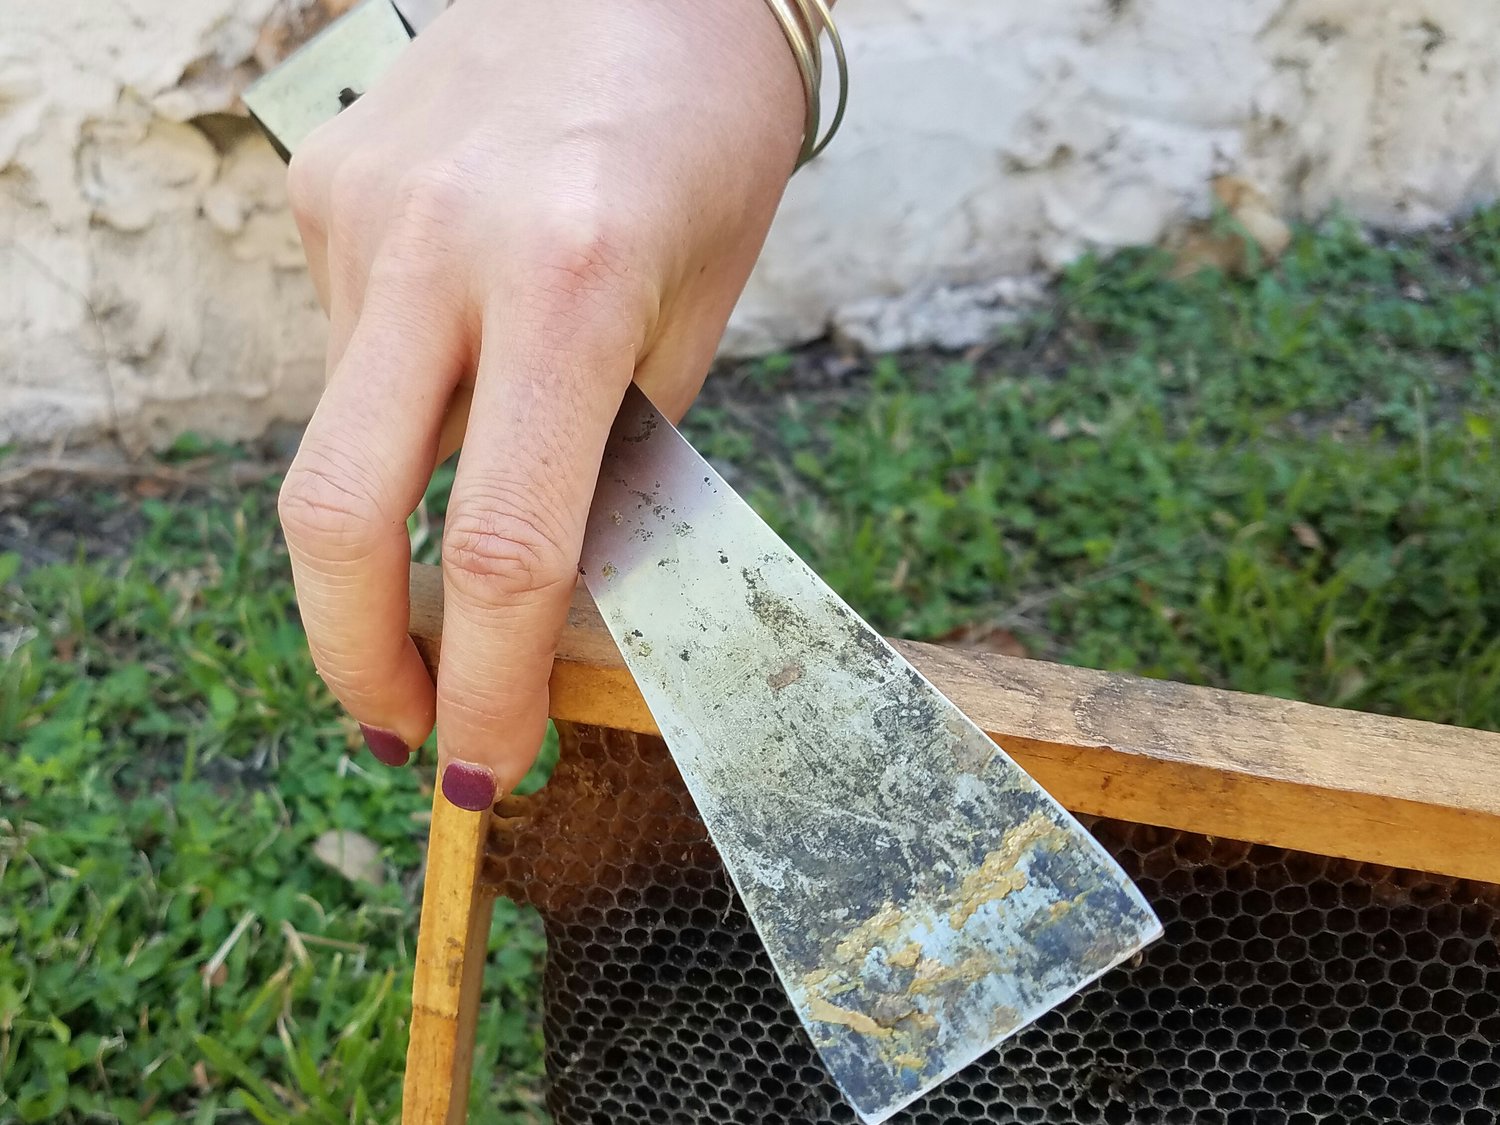
If you have small hands and you have a hard time managing your hive tool, try out a few of the ‘fancy’ tools out on the market. Look for a tool that is more narrow and longer than the traditional tool for easier handling and more leverage. A J-hook hive tool has a hook that helps to pry frames out of a hive. Personally, I prefer the traditional old-school hive tool and perhaps with a few tips it may work just fine for you as well: I find that I really only need the first three fingers on each hand to move frames and even lift boxes, which means my ring finger and pinky are free to hold the tool in the palm of my hand. This means I don’t have to keep setting my tool down to work, and am not spending a lot of time trying to figure out where I put it! Using your first three fingers only also helps you remember to pinch the outer edge of your frames, rather than death gripping underneath the end of the frame. If you are used to the latter, then you know how hard it is to get your hands out of the way when you are trying to insert that last frame in the hive. If you use the pinch technique, then you will have an easier time squeezing in that last frame.
Keep your hive tool tucked under your last two digits to free your first three fingers for bee work.

If you are in need of beekeeping tools, we’ve got them in our shop! Reach out to us first and we can let you know what we’ve got in stock.
Hopefully these tips we’ve provided keep your back healthy and you keeping bees well into your golden years!
This blog originally appeared in the monthly Kelley Bees Newsletter in my bi-monthly column “The Townie Bees”. Subscribe at https://www.kelleybees.com.


Excellent post. I absolutely love this website. Thanks!
Thank you for stopping in! We are constantly trying to make it better. Who knew websites were so much work!? 🙂